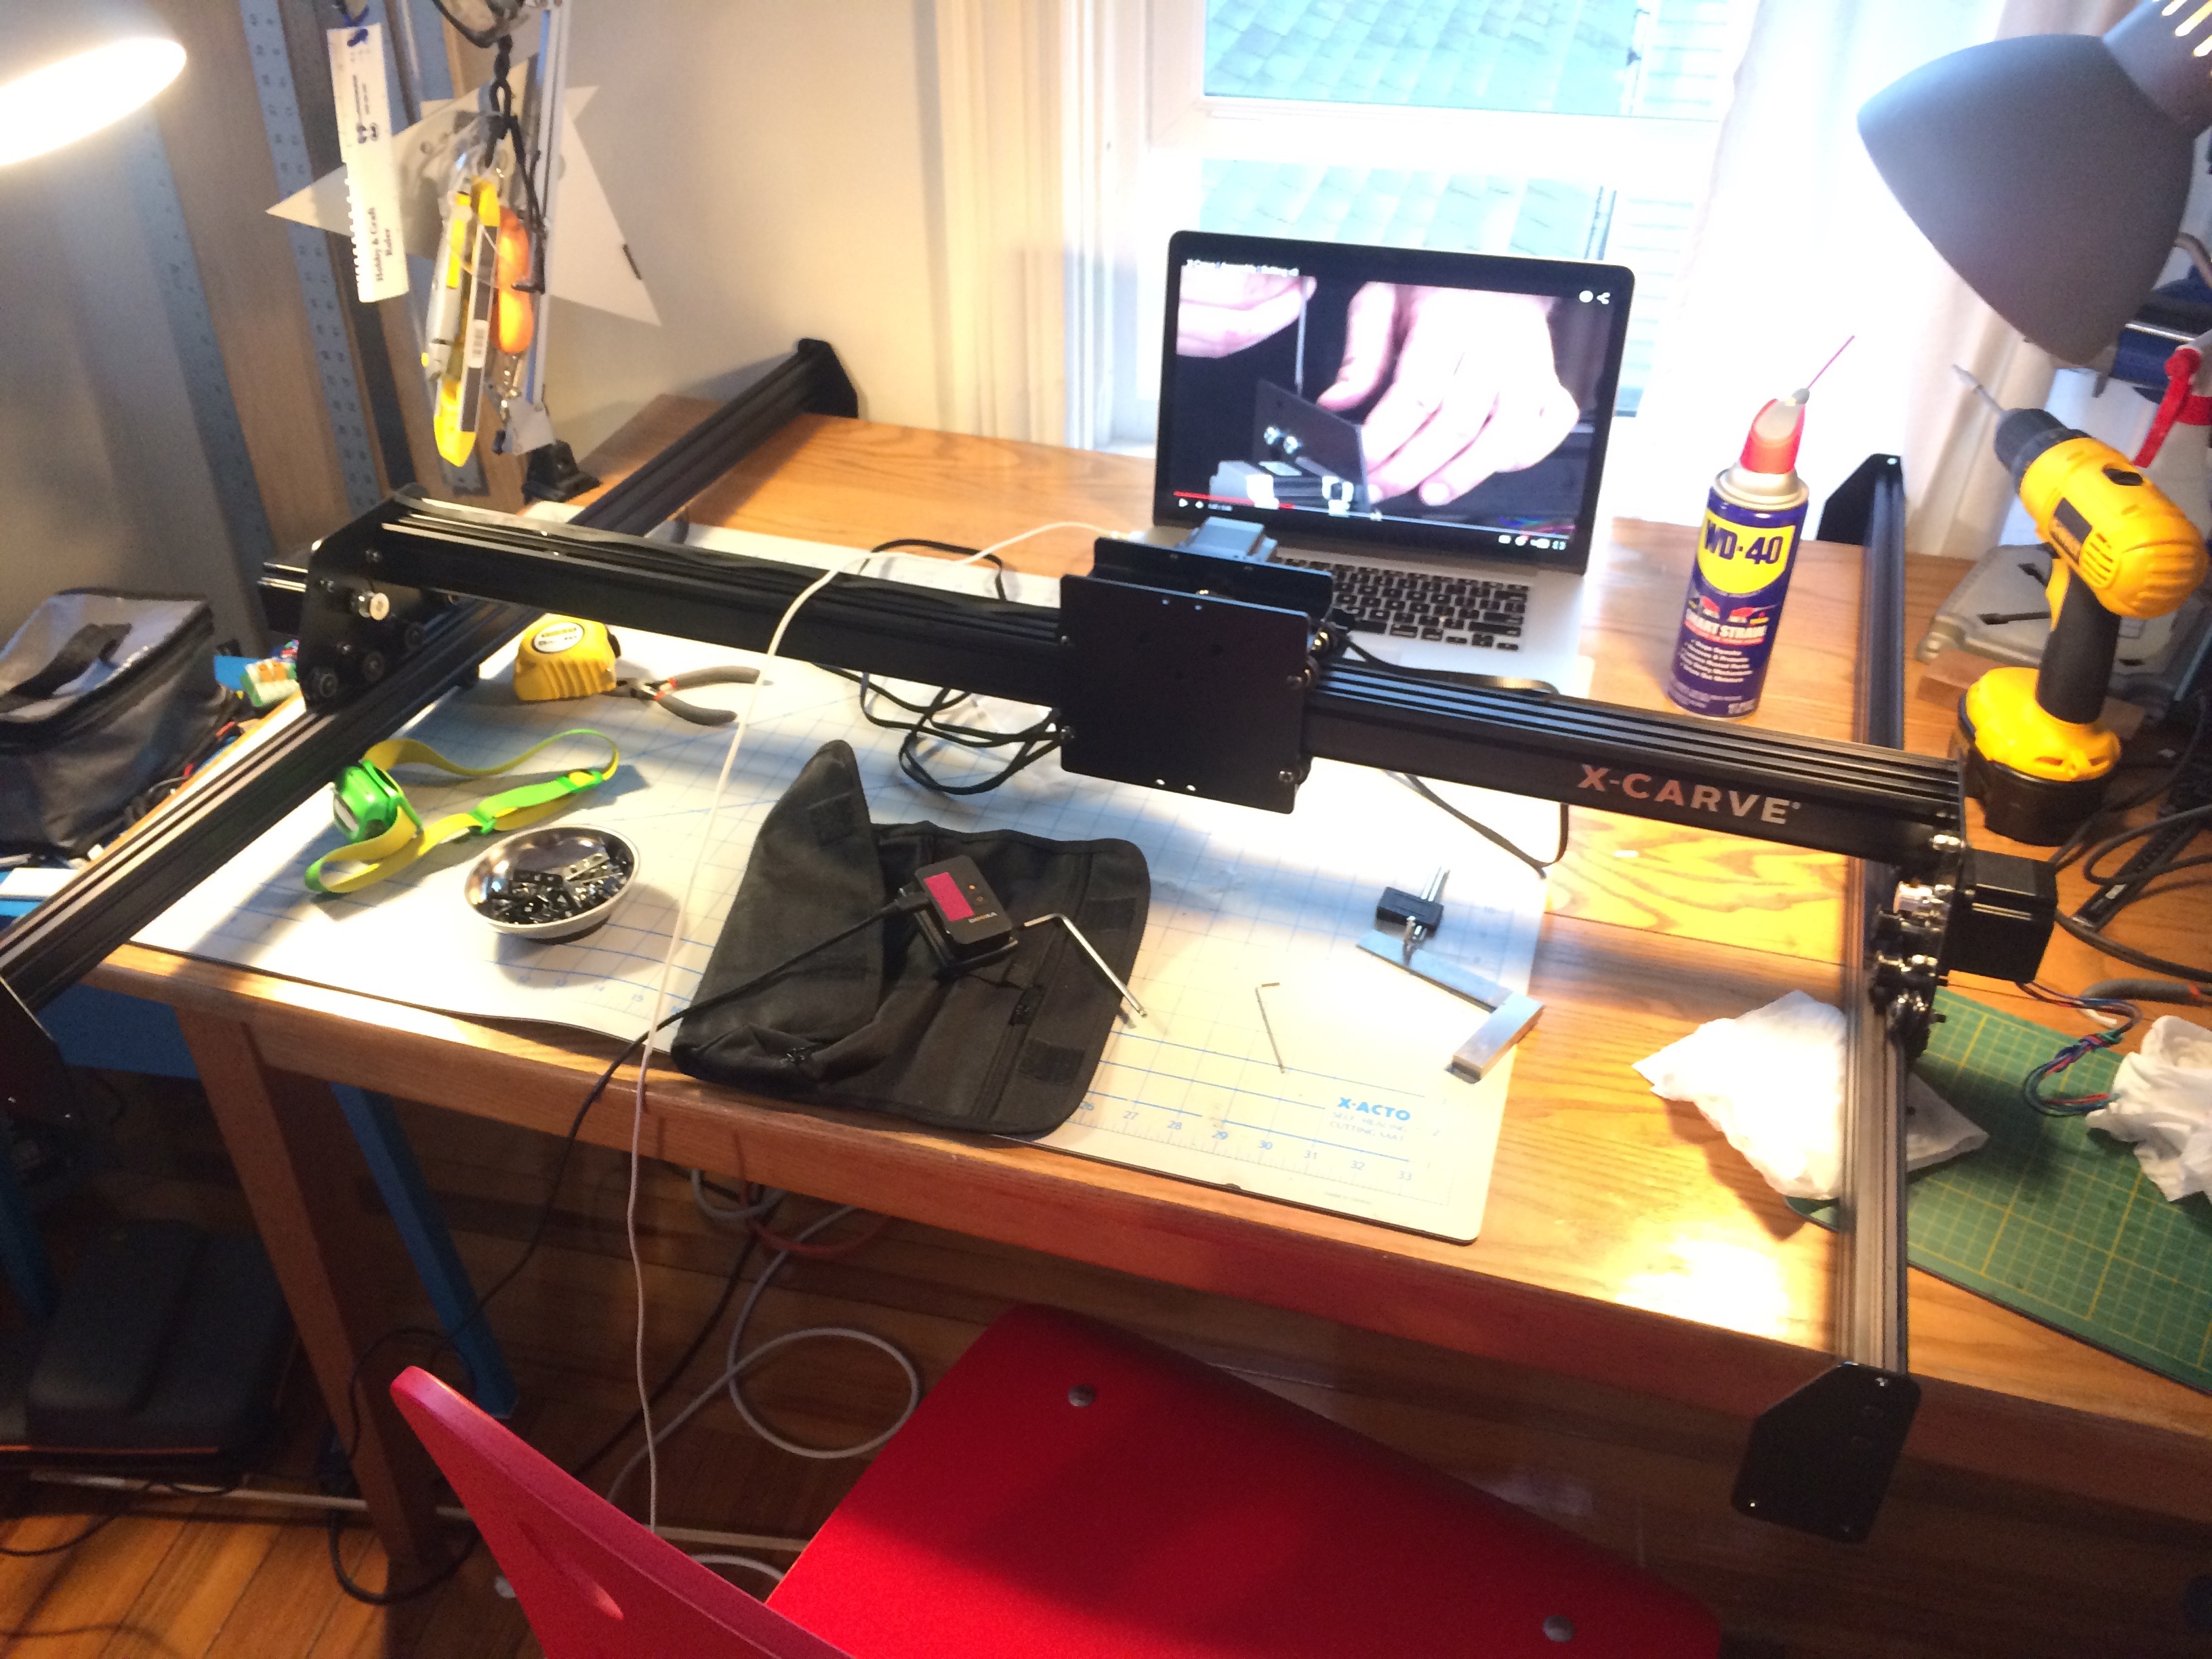
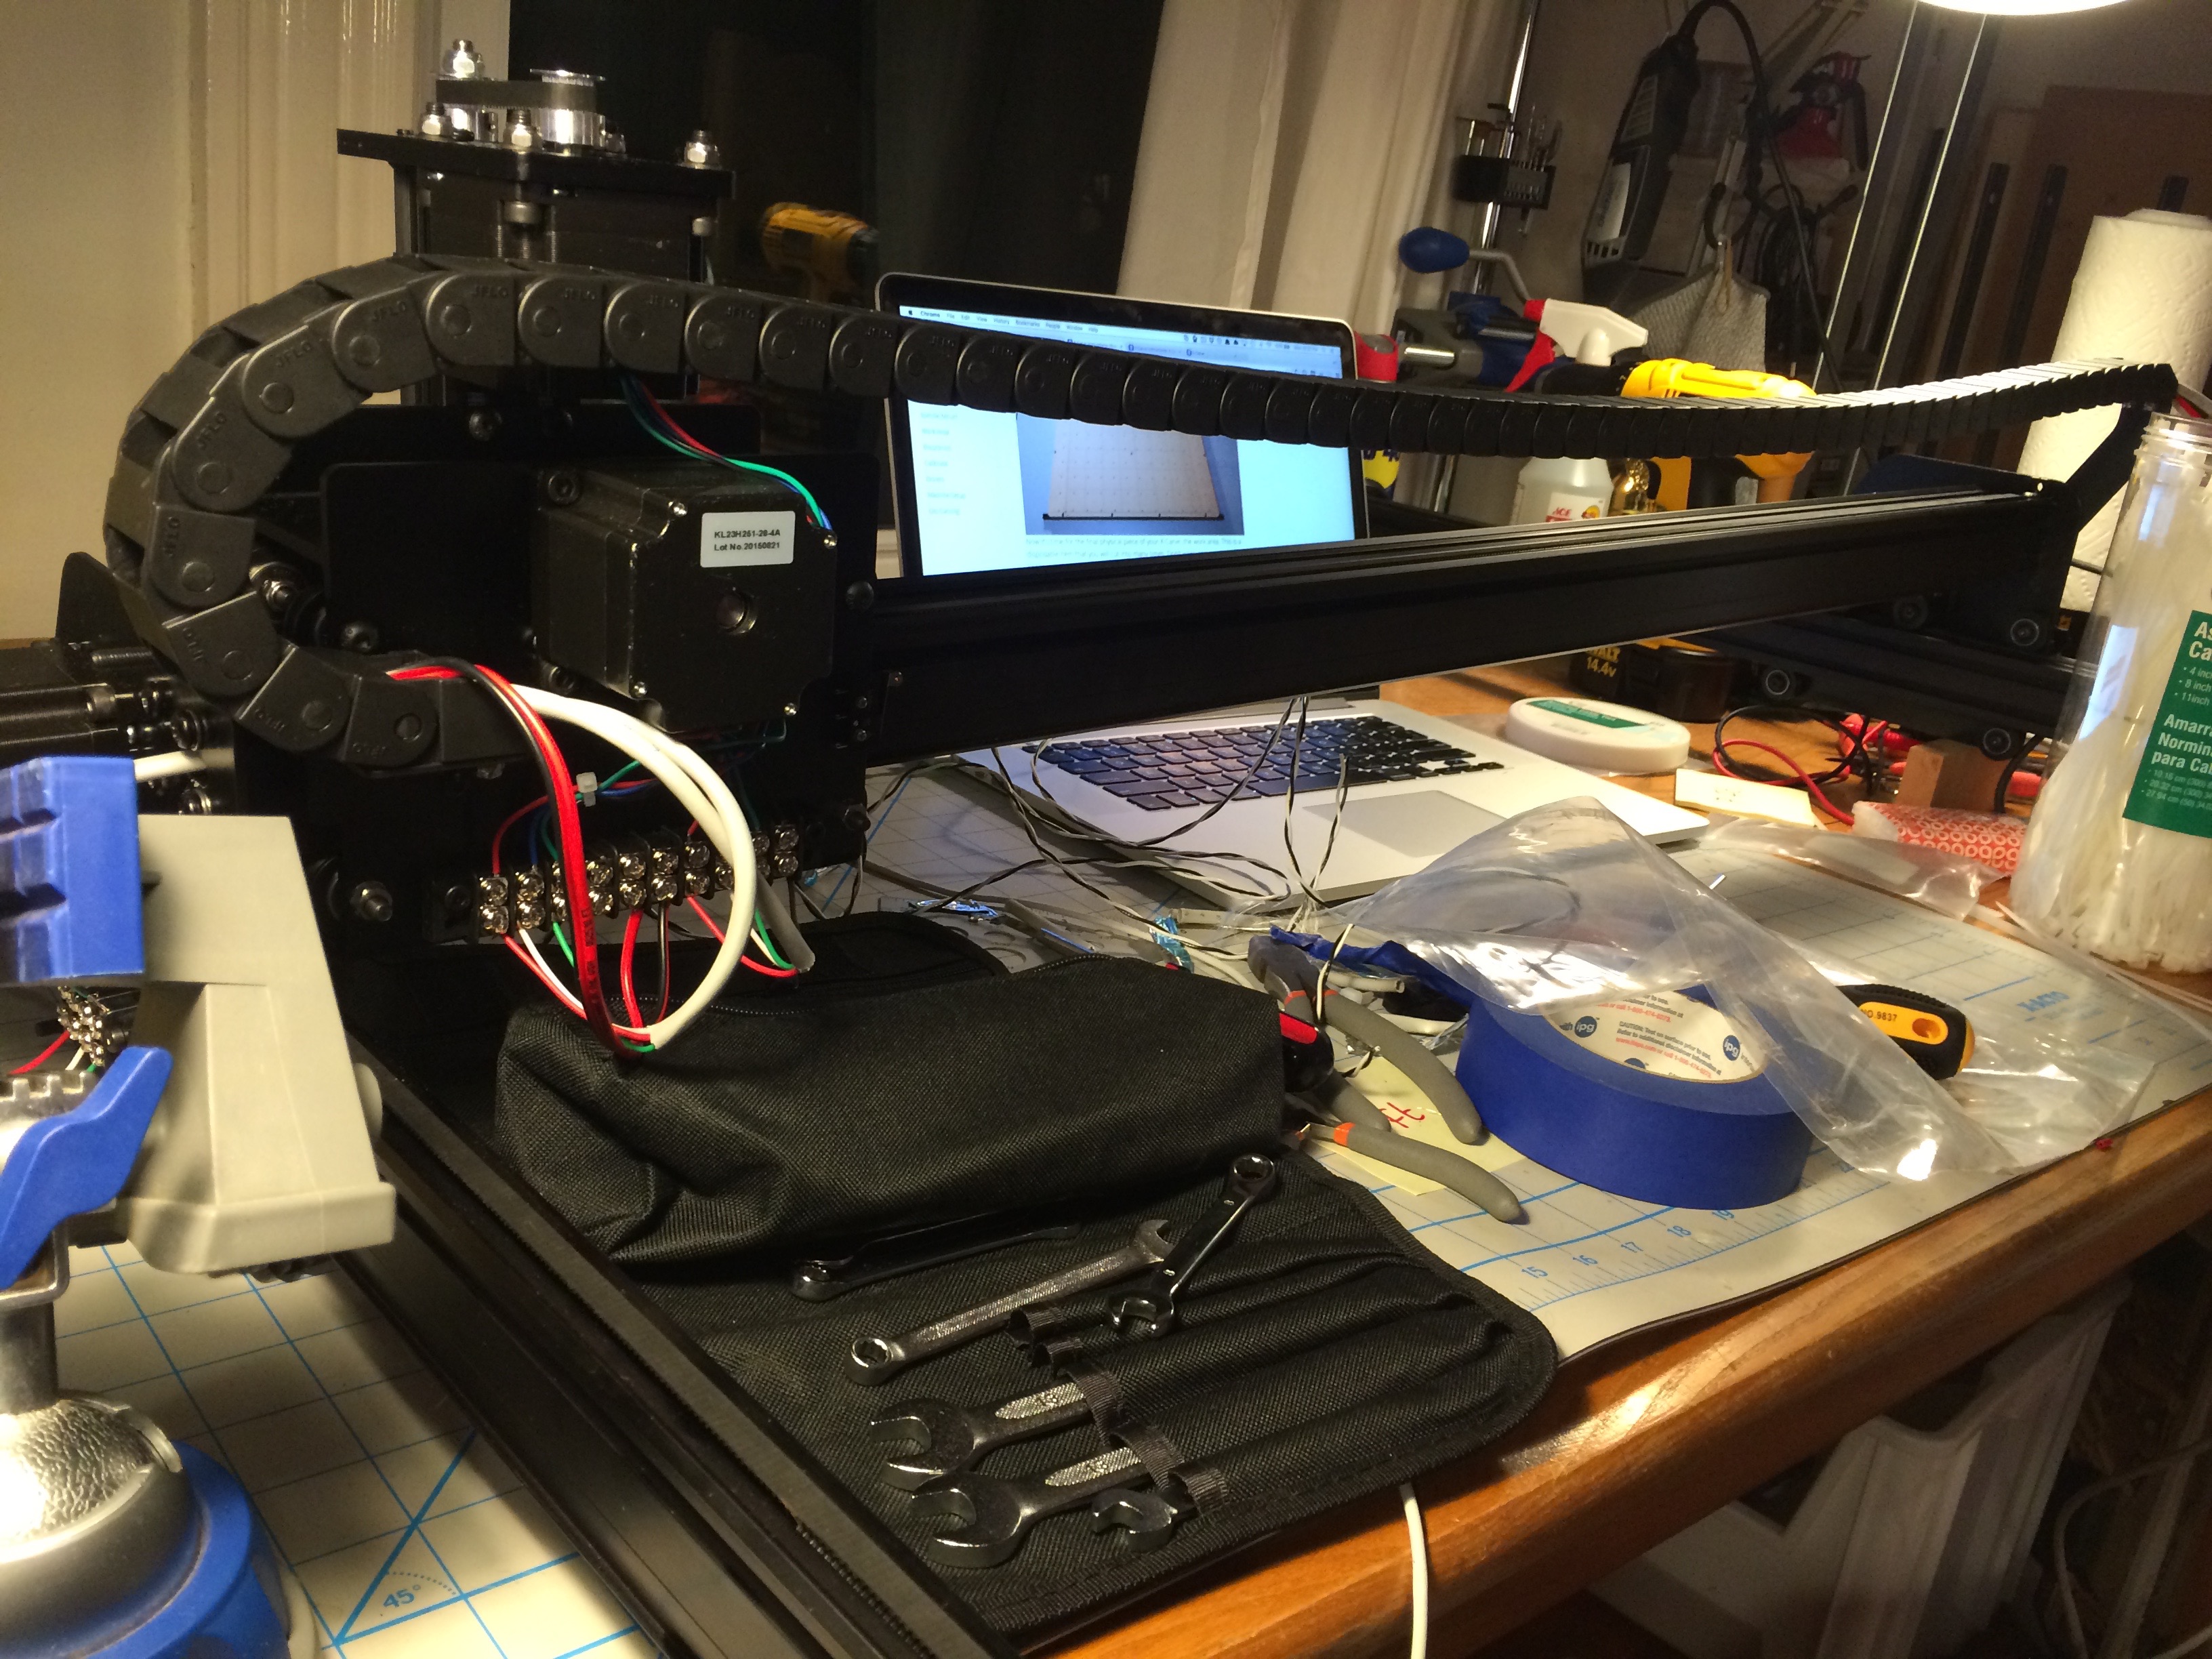
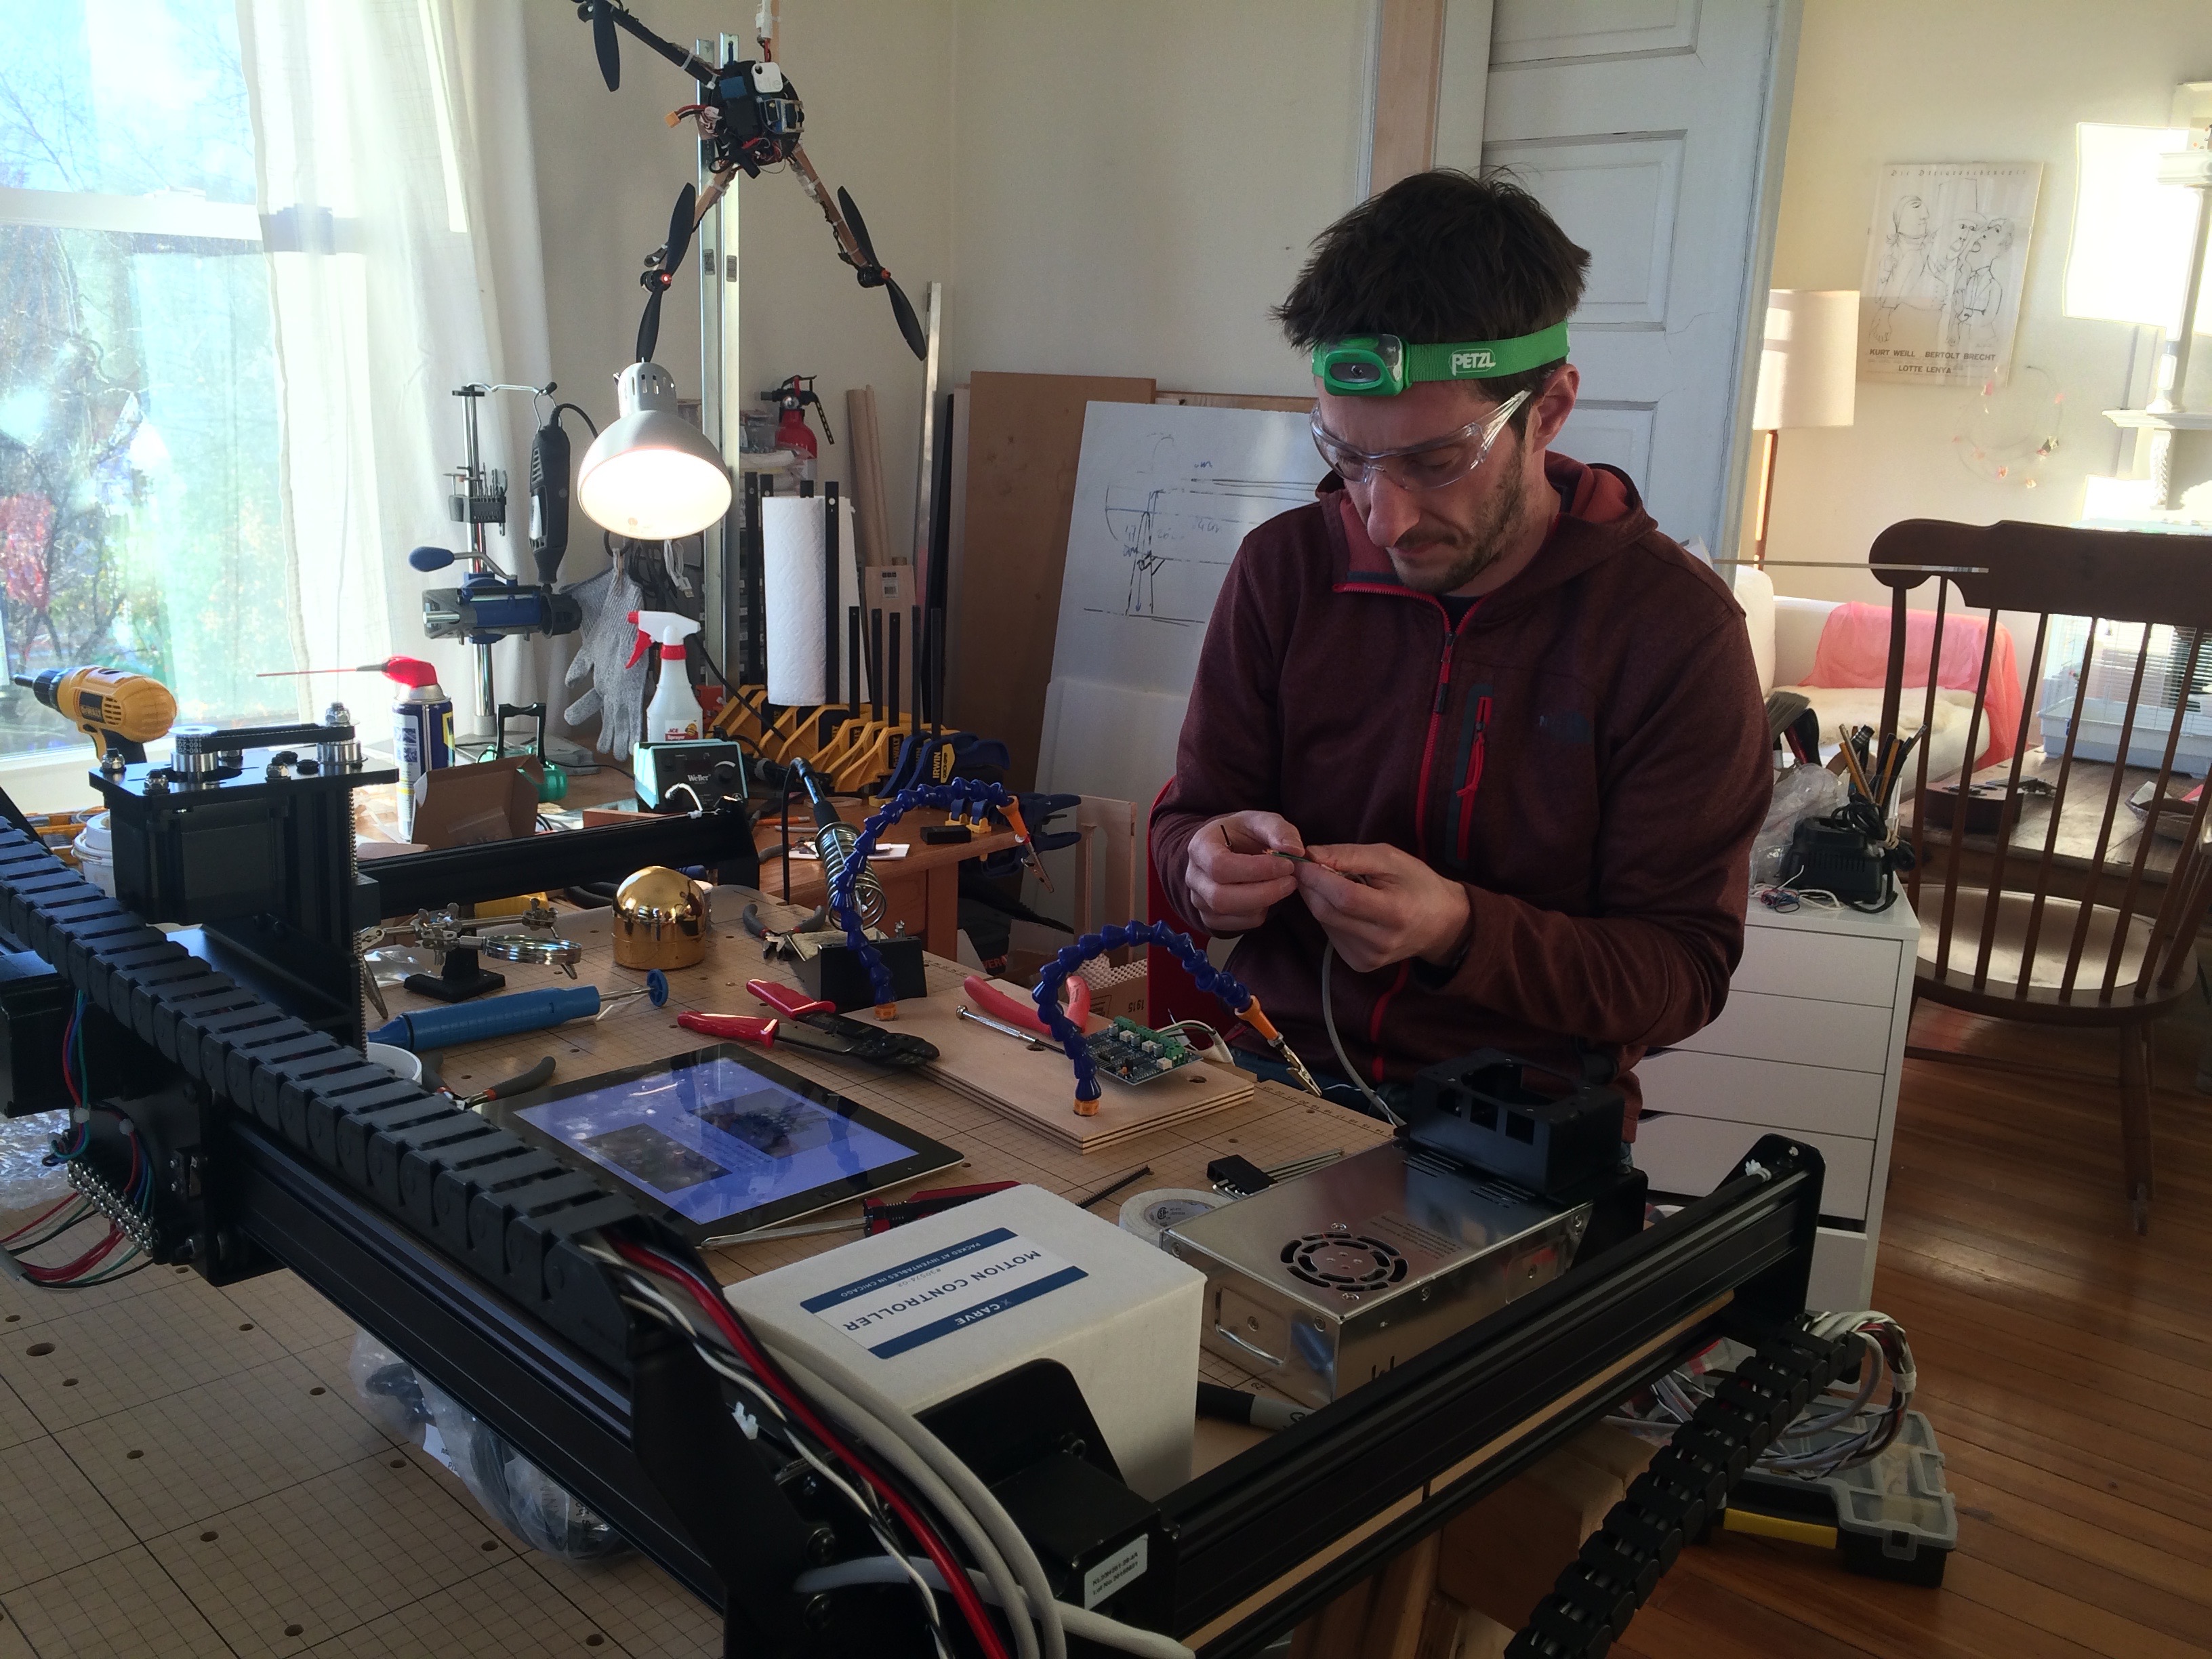
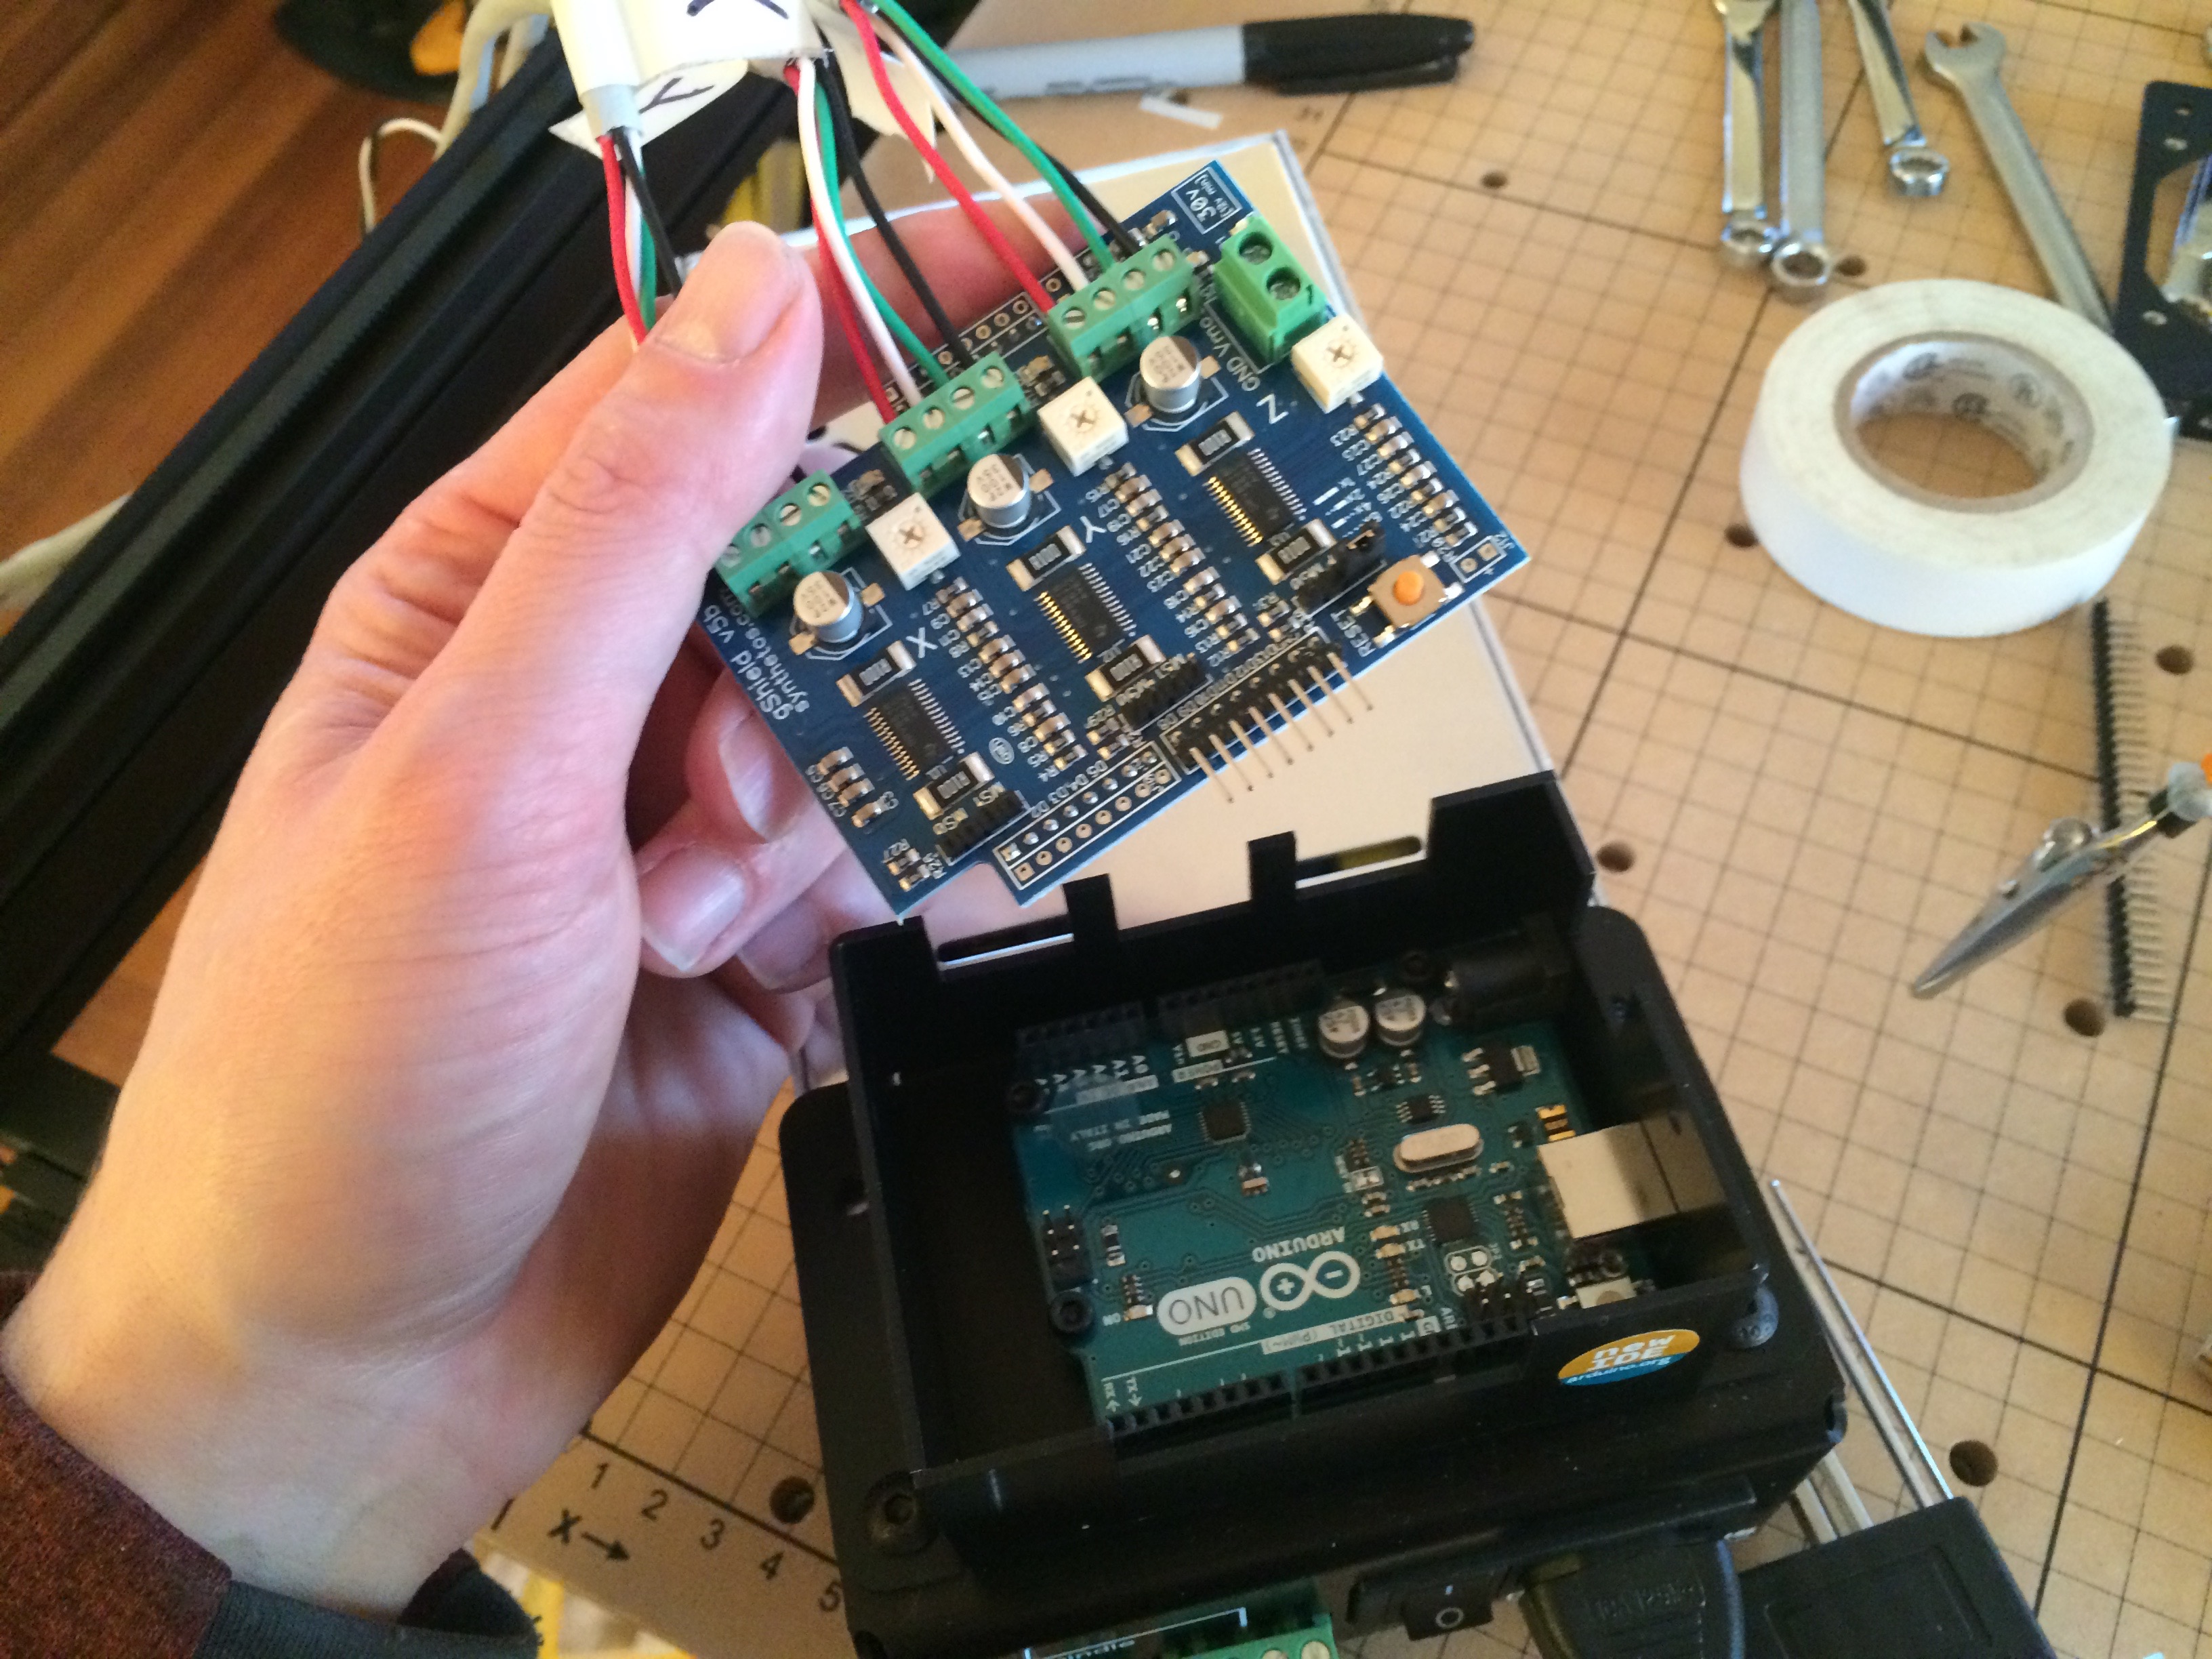
So I've nearly wrapped up the assembly of the X-Carve 1000mm. I continued work a bit during the few hours after work on weekday evenings, but the bulk of the assembly happened over the weekend, when I wasn't tending to Sofie, my month-old daughter. It was a busy weekend.
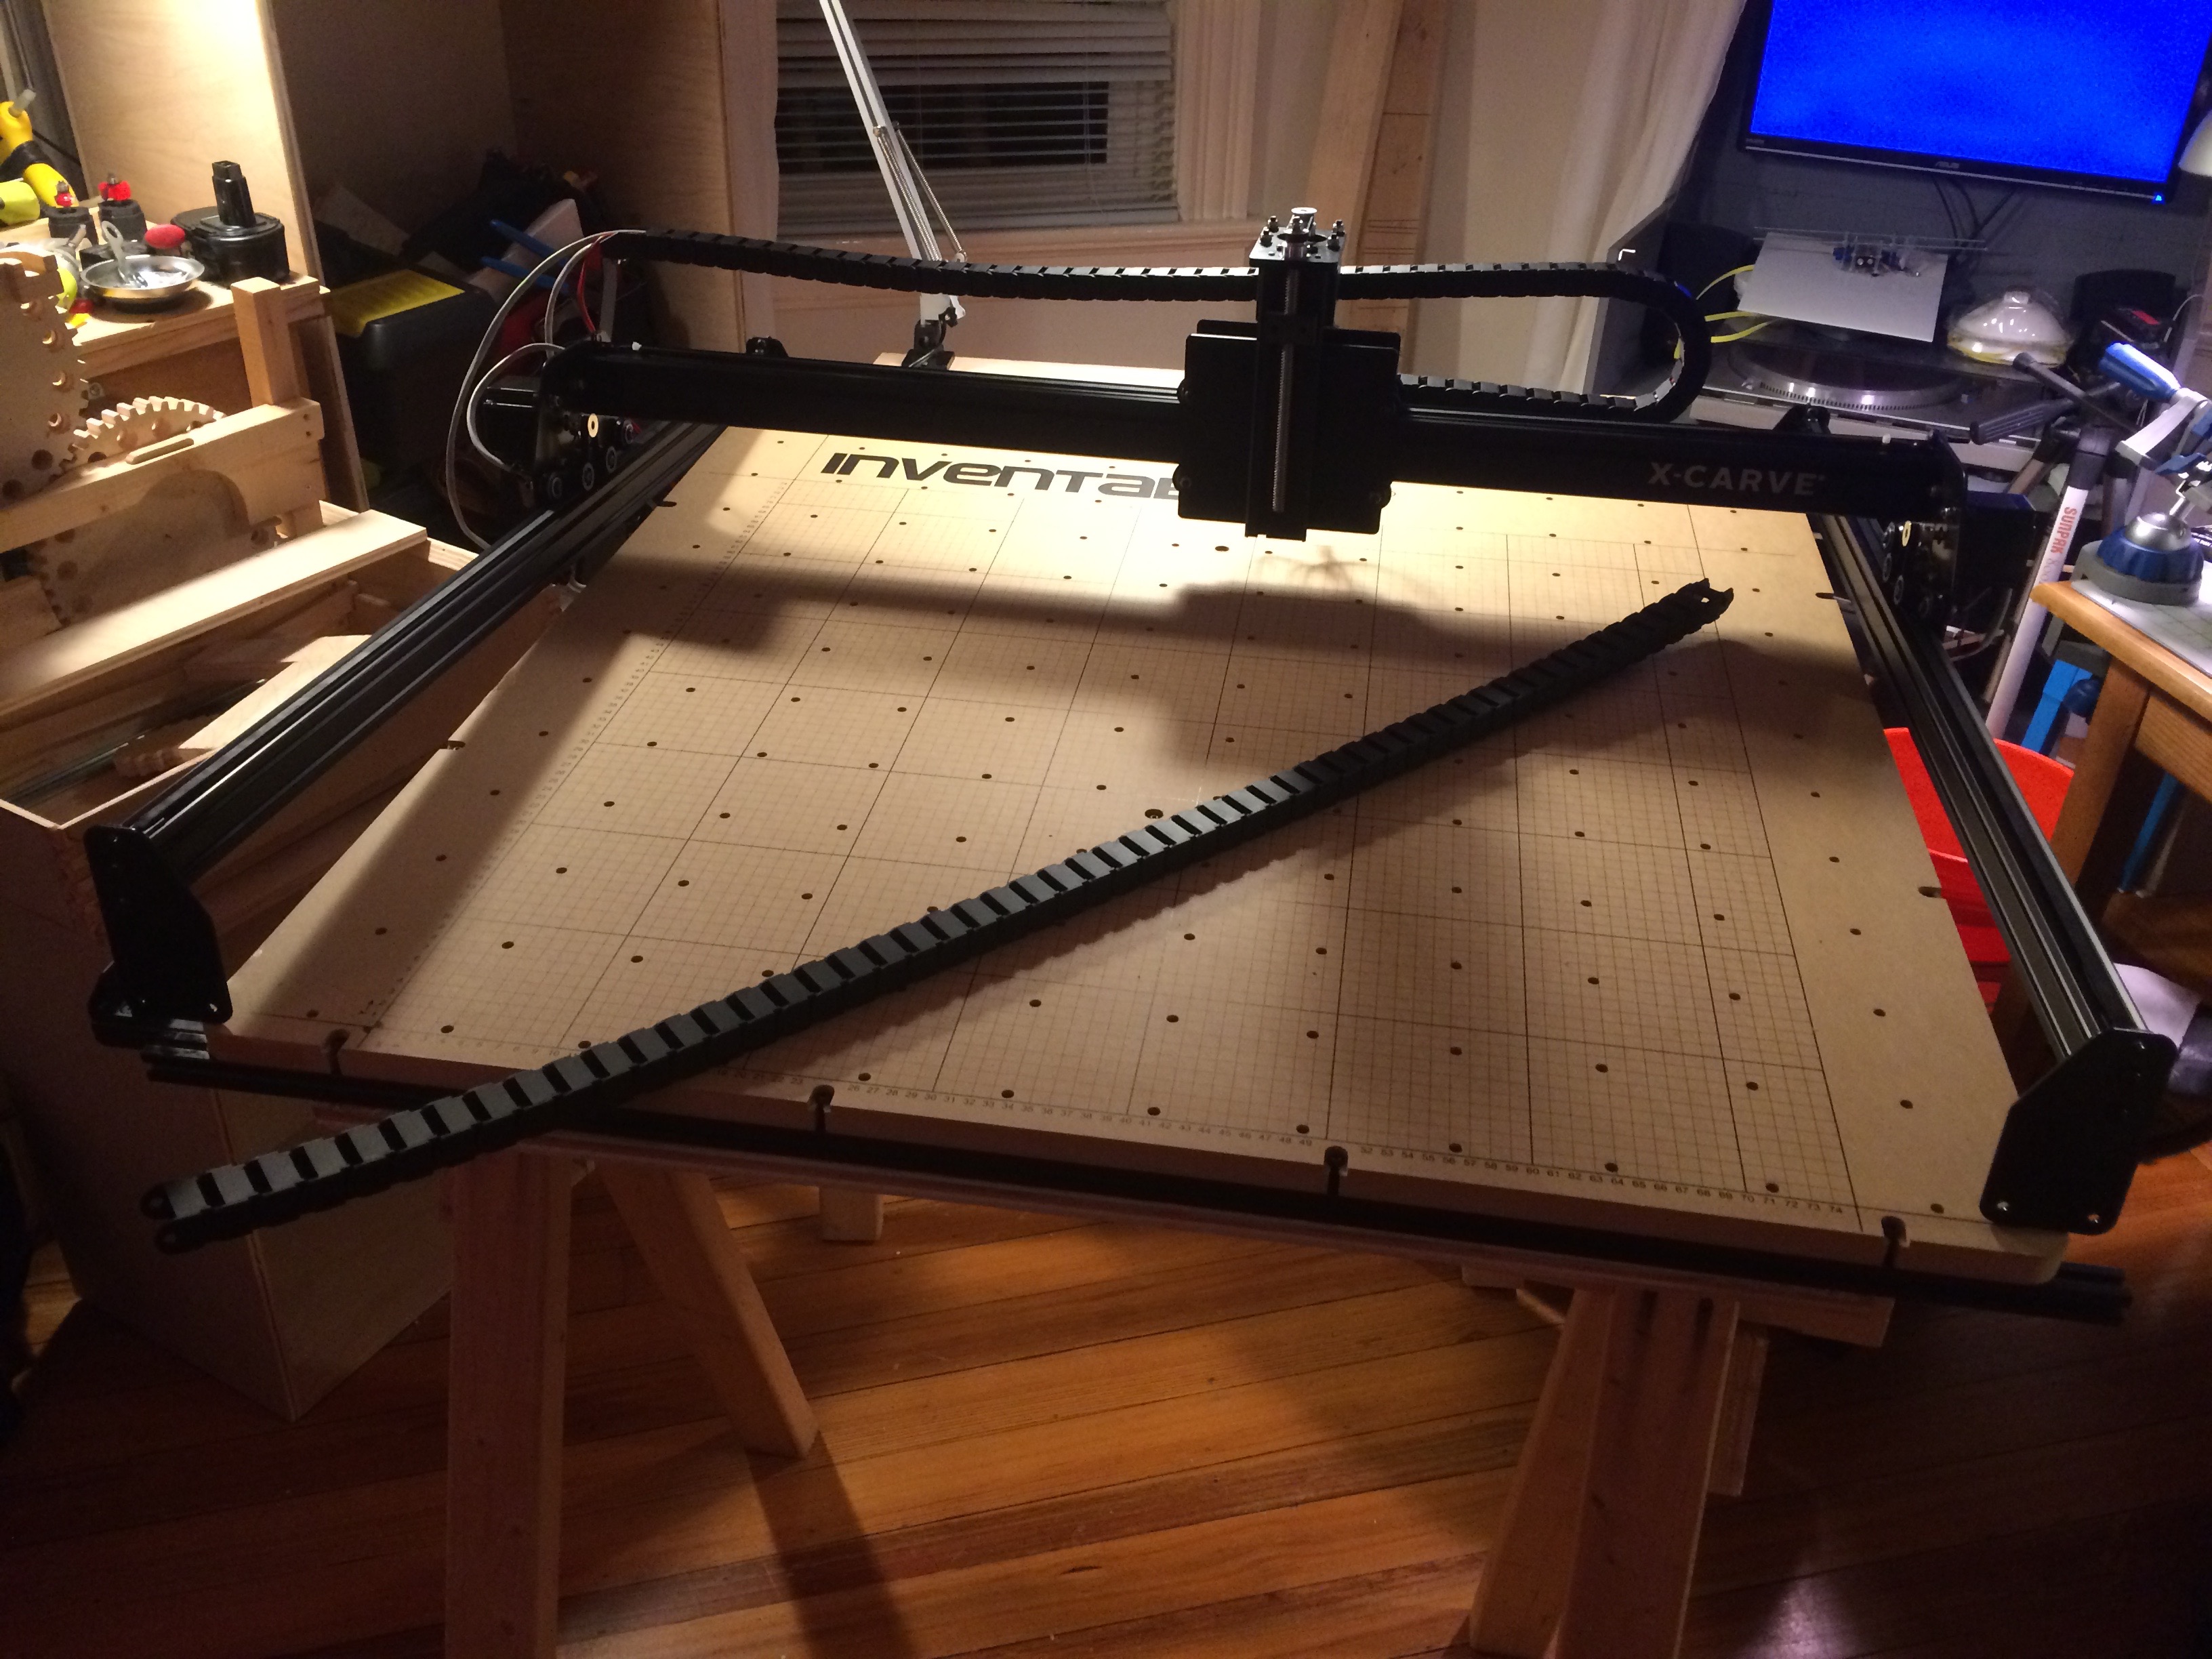
The spindle mount and DeWalt DWP661 router that complete the build are backordered, so I couldn't quite finish the build. Even then I'll need to spend some time tuning the machine (e.g. adjusting the eccentric nuts on the plates so the v-wheels aren't being stressed more than needed, in addition to making sure everything is square). And oh, at some point I will want to hook up the homing switches and spindle control, I did not bother at this point.
I've ordered a superPID, a closed loop speed controller for the router. Installing it seems to be a bit of a hassle, since I'll have to take apart my router, and bypass the soft start and variable speed controller on the DWP661. We'll see how that goes.
What's the point of a SuperPID you ask?
The addition of a Super-PID to your router setup allows the use of lower cutting RPM, quiet operation, exact regulated speeds and gives massive power improvements when operating 1/4" and 1/2" routers at low speeds.
Super-PID uses a reflective optical infra-red sensor that is simply pointed at the router output shaft and detects a spot of white paint on the shaft. This enables closed-loop speed control and a microprocessor chip inside the Super-PID executes an industrial style P.I.D. algorithm to give precise speed control with dramatically increased power at low and medium revs.
So now I need to build an enclosure for my x-carve to prevent the dust from getting all over the apartment, and hopefully it will reduce the noise levels too.
The front room in my appartment has become unwieldly with all the tools and materials, so I'll take this opportunity to create a new multi-tiered workbench to tidy things up.
So here are some of the steps of the assembly process up to this point: